
Have you ever considered effectively integrating a money converter into a Node JS app? CurrencyFreaks has a free and reliable API to help more apps that need real-time currency conversion. This blog will show you the 'CurrencyFreaks Free Currency Converter API' integration with Node JS. We'll make sure it's simple and efficient.
First, we will look into why Node JS is an excellent choice for this. Its fast event-driven nature makes it ideal for handling multiple tasks simultaneously as opposed to processing them in order sequentially. Then, we will provide you with a step-by-step tutorial on how to set up the CurrencyFreaks API. Such steps include preparing your Node JS environment and fetching live currency rates.
Also, tips regarding managing currency data have been provided. We will also explain the management of errors required for the proper functioning of your currency conversion. Let's begin.
Why Can Node JS Be an Excellent Choice for CurrencyFreaks Integration?
Many developers select Node JS because it performs well. It handles numerous things simultaneously, which means it can easily handle growth and scalability. Node JS's ability to manage multiple requests simultaneously is also good when using the CurrencyFreaks API.
-
An essential strength of Node JS is its non-blocking operations meaning that several API calls can be managed concurrently instead of waiting for one call before starting another. The above guarantees smoothness and quick performance, especially for an application that needs real-time currency conversion
-
In addition, numerous packages are offered through npm (Node Package Manager) in case additional functionalities are needed. These packages greatly contribute to making development processes easier. A good example is Axios or Node-fetch packages, which facilitate making RESTful requests easily and without much hassle.
-
Another advantage of using Node JS is its single-threaded design (Being able to do many things simultaneously.) This reduces the load on the server while speeding up response times, particularly useful for applications such as currency converters where real-time updates are needed.
What Are the Steps to Achieve CurrencyFreaks Integration with Node JS?
Below are the simple steps to achieving CurrencyFreaks integration with Node JS. Let's get started.
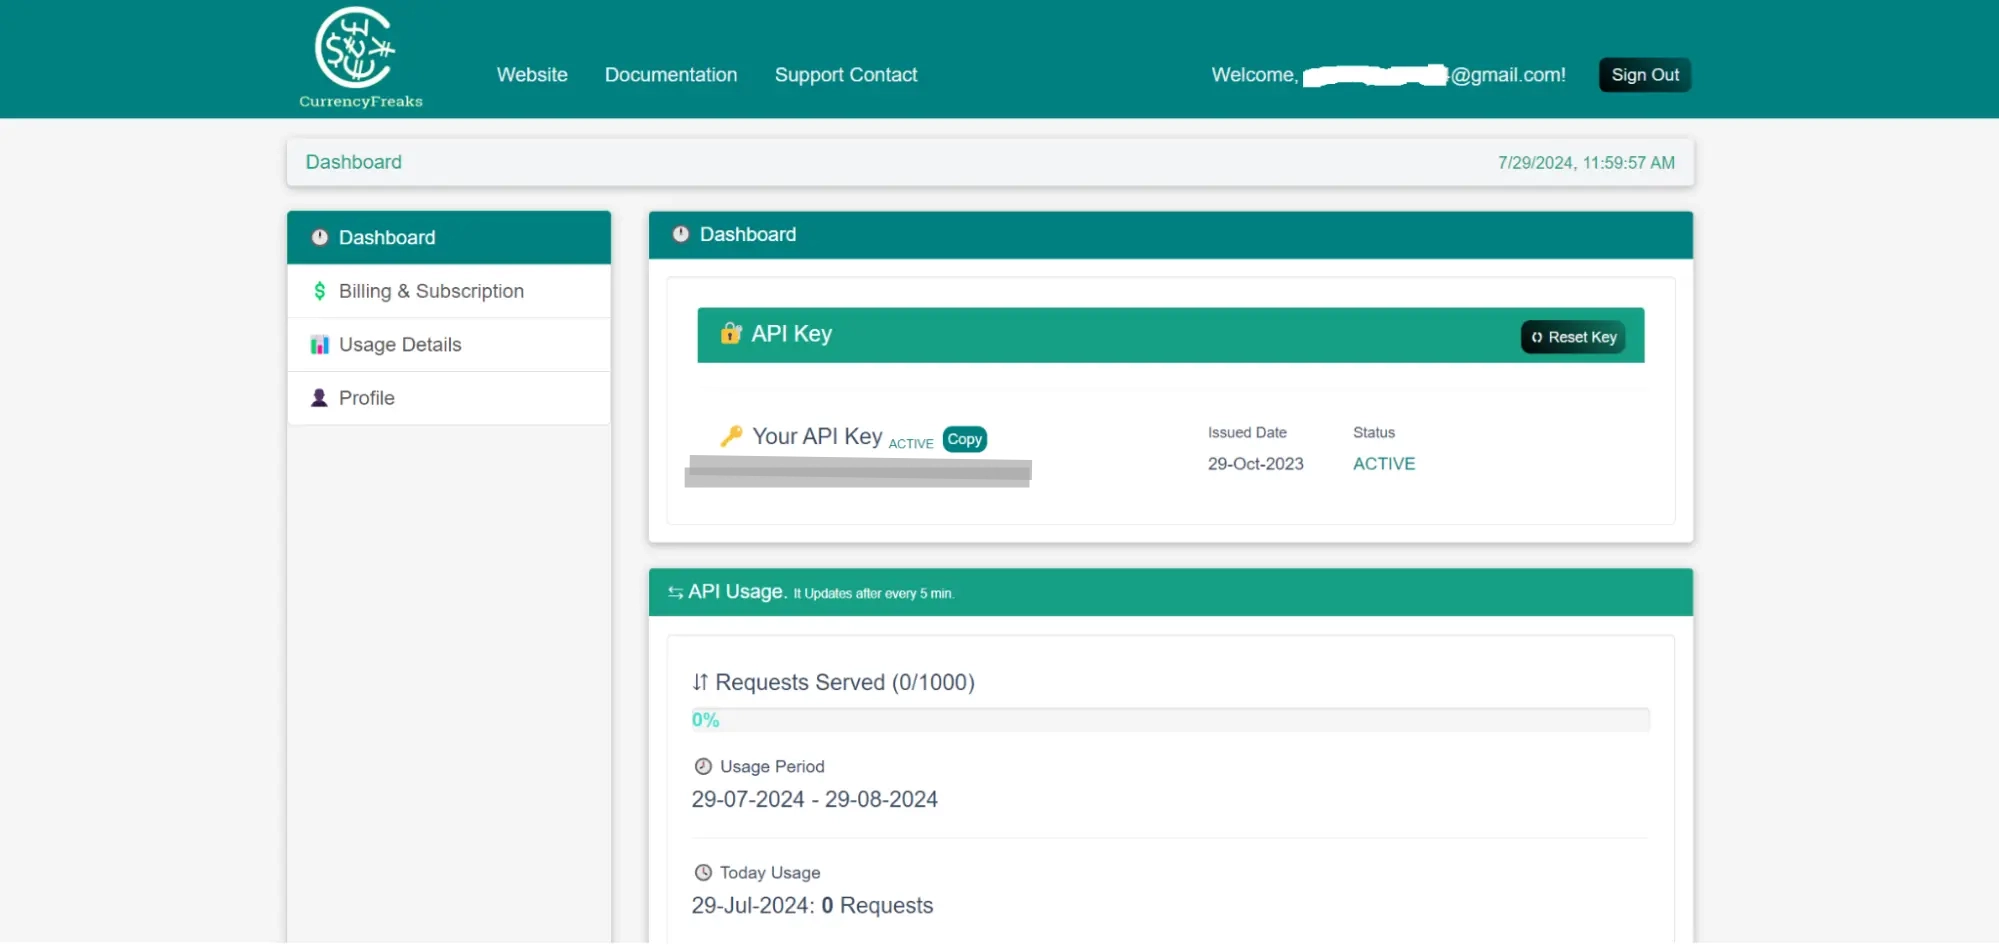
Get Your API Key
Get your API key by creating an account at https://currencyfreaks.com/. You can log in to the dashboard where you will see the API key. You will see something like this:
Test the API Key
You can also use the API testing tools like Postman to check if the API works fine. However, we will tell you the simplest method to achieve that. Suppose we want to test the below endpoint by CurrencyFreaks:
https://api.currencyfreaks.com/v2.0/rates/latest?apikey=YOUR_APIKEY
Add your API key to this URL. Next, open a new tab on Chrome and paste it there. You will see the results as shown below.

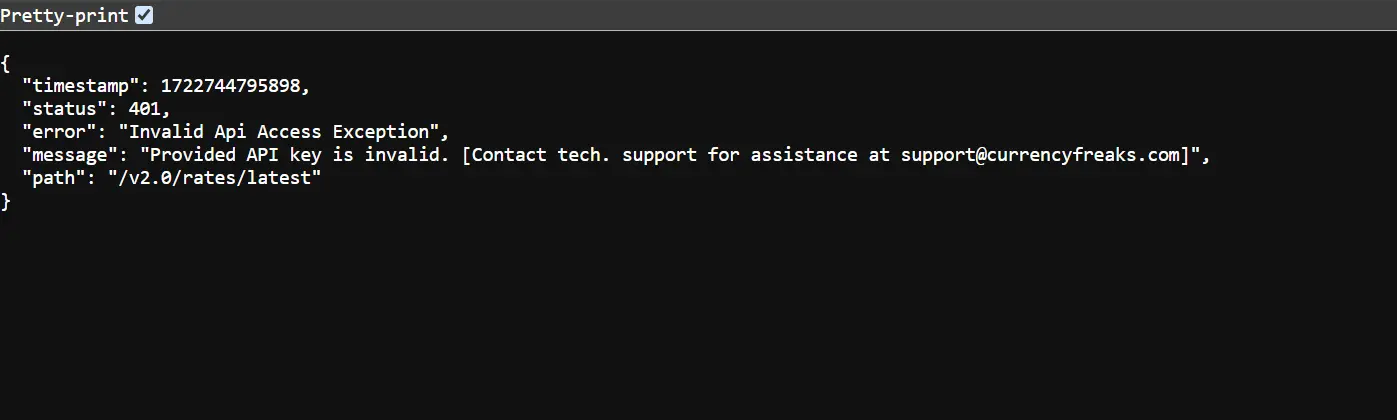
If you have an invalid API key, you will get something like this:
Set Up Project Environment
First, ensure you have Node.js installed, then set up a new Node.js project. Run the below commands in the Command Prompt and open it inside the Visual Studio Code.
mkdir currency-converter-node

cd currency-converter-node

npm init -y

npm install express axios
Next, you should create a new file named server.js in the project directory.
// server.js

const express = require('express');

const axios = require('axios');

const path = require('path');

const app = express();

const port = 3000;

const apiKey = 'YOUR_APIKEY'; // Replace with your actual API key

app.use(express.json());

app.use(express.static(path.join(__dirname, 'public')));

app.get('/', (req, res) => {

  res.sendFile(path.join(__dirname, 'public', 'index.html'));

});

app.post('/convert', async (req, res) => {

  const { amount, fromCurrency, toCurrency } = req.body;

  try {

    const response = await axios.get(`https://api.currencyfreaks.com/v2.0/rates/latest?apikey=${apiKey}`);

    const rates = response.data.rates;

    const exchangeRate = rates[toCurrency];

    if (exchangeRate) {

      const convertedAmount = (amount * exchangeRate).toFixed(2);

      res.json({ amount, fromCurrency, toCurrency, convertedAmount });

    } else {

      res.status(400).json({ error: 'Invalid toCurrency code' });

    }

  } catch (error) {

    res.status(500).json({ error: 'Error fetching exchange rates' });

  }

});

app.listen(port, () => {

  console.log(`Server is running on http://localhost:${port}`);

});
The next step is to create an index.html file. You also need to create a CSS file and name it styles.css. It will enhance the appearance of your application.
Index.html
Create a public directory in your project root and add index.html and styles.css files.
Here is the code for index.html file:
<!DOCTYPE html>

<html lang="en">

<head>

  <meta charset="UTF-8">

  <meta name="viewport" content="width=device-width, initial-scale=1.0">

  <title>Currency Converter</title>

  <link rel="stylesheet" href="styles.css">

</head>

<body>

  <div class="container">

    <h1>Currency Converter</h1>

    <form id="converter-form">

      <input type="number" id="amount" placeholder="Amount" required>

      <input type="text" id="fromCurrency" placeholder="From Currency (e.g., USD)" required>

      <input type="text" id="toCurrency" placeholder="To Currency (e.g., EUR)" required>

      <button type="submit">Convert</button>

    </form>

    <h2 id="result"></h2>

  </div>

  <script>

    document.getElementById('converter-form').addEventListener('submit', async (e) => {

      e.preventDefault();

      const amount = document.getElementById('amount').value;

      const fromCurrency = document.getElementById('fromCurrency').value;

      const toCurrency = document.getElementById('toCurrency').value;

      const response = await fetch('/convert', {

        method: 'POST',

        headers: {

          'Content-Type': 'application/json',

        },

        body: JSON.stringify({ amount, fromCurrency, toCurrency }),

      });

      const data = await response.json();

      if (response.ok) {

        document.getElementById('result').textContent = `${amount} ${fromCurrency} is equal to ${data.convertedAmount} ${toCurrency}`;

      } else {

        document.getElementById('result').textContent = `Error: ${data.error}`;

      }

    });

  </script>

</body>

</html>
Styles.css
Here is the code for styles.css file:
body {

  font-family: Arial, sans-serif;

  background-color: #f4f4f9;

  color: #333;

  margin: 0;

  padding: 0;

  display: flex;

  justify-content: center;

  align-items: center;

  height: 100vh;

}

h1 {

  color: #5a67d8;

}

.container {

  background: white;

  padding: 20px;

  border-radius: 8px;

  box-shadow: 0 4px 8px rgba(0, 0, 0, 0.1);

  text-align: center;

}

form {

  display: flex;

  flex-direction: column;

  align-items: center;

}

input[type="number"],

input[type="text"] {

  width: 300px;

  padding: 10px;

  margin: 10px 0;

  border: 1px solid #ddd;

  border-radius: 4px;

  font-size: 1em;

}

button {

  background-color: #5a67d8;

  color: white;

  padding: 10px 20px;

  border: none;

  border-radius: 4px;

  font-size: 1em;

  cursor: pointer;

  margin-top: 10px;

}

button:hover {

  background-color: #434190;

}

#result {

  margin-top: 20px;

  font-size: 1.2em;

}
Finally, you must start the server by running the below code:
node server.js
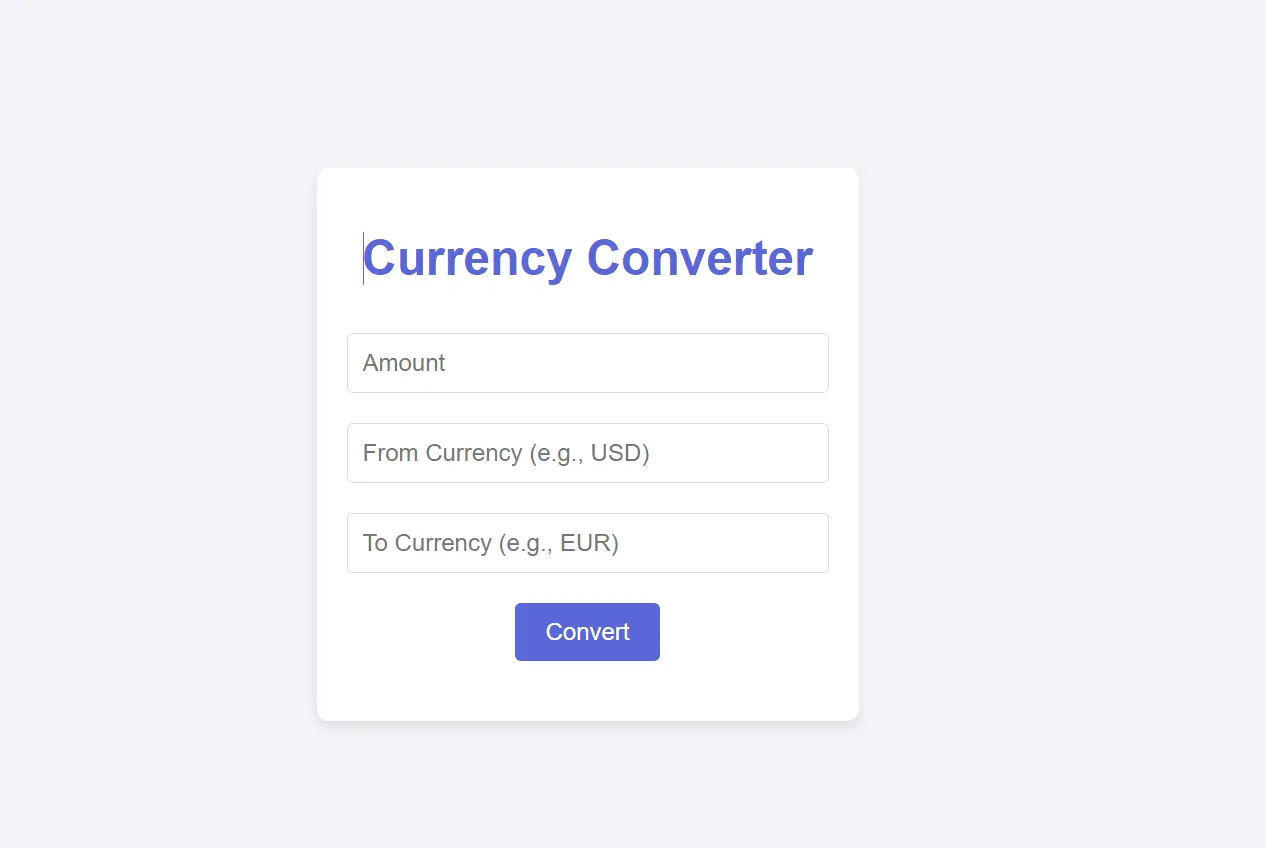
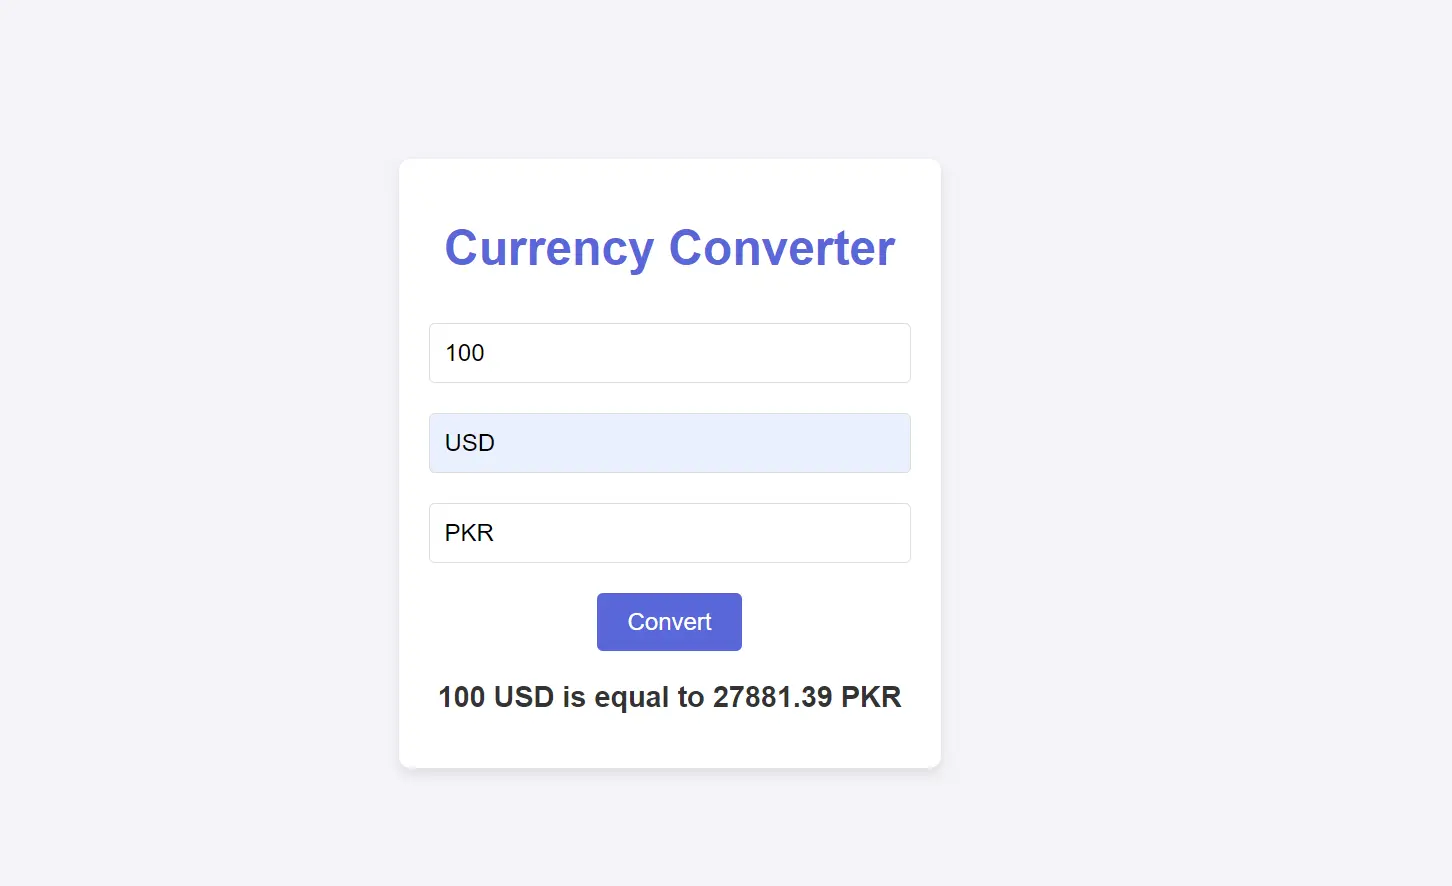
Open your web browser and navigate to <http://localhost:3000>. You should see the styled currency converter form. Fill out the form and submit it to see the converted currency.
Output
Conclusion
Integrating the CurrencyFreaks API with Node JS is a simple way to add a currency converter to an application. This guide presents you with step-by-step instructions on how to achieve this. It can be realized through its fastness by managing several tasks simultaneously in an event-driven manner within Node JS.
The live exchange rates from CurrencyFreaks make your app more powerful and user-friendly. Follow these steps to integrate the API and enhance your application with up-to-date currency information.
FAQs
Why Should You Choose Node JS to Create a Currency Application?
A currency application is perfectly made by Node JS that performs well due to handling multiple things simultaneously without getting stuck waiting. It also has useful packages as well which actually ensures that you don't have much work while managing real-time data of your data.
How Can You Easily Fetch Live Currency Rates Using CurrencyFreaks API in Node JS?
You can easily fetch live currency rates using the CurrencyFreaks API via Node JS. First, install Axios. Next, send a GET request to the API. Finally, read JSON response in order to get currency rates.
What Are Some Best Practices for Managing Currency Data in Your Node JS Application?
-
Store often-used data in the cache.
-
Check and clean all data inputs.
-
Update exchange rates regularly.
-
Manage errors carefully.
-
Keep your API keys secure.
-
Use encryption to protect data.
How Can You Handle Errors and Ensure Reliable Currency Conversion with CurrencyFreaks API in Node JS?
To handle errors with CurrencyFreaks API in Node JS, use try-catch blocks to catch mistakes. Retry failed requests. Check API responses for correct data. This ensures your currency conversion works reliably.
Sign Up for free at CurrencyFreaks to get an API key for your Node JS application.


